Well, the holidays are over. I didn't make as much progress as I'd have liked, since the last entry. I have made some, though. I've continued doing filler/sanding work. The front valance is still a challenge, to get the curve just right, and I will give it some more attention this weekend, when it is warmer.
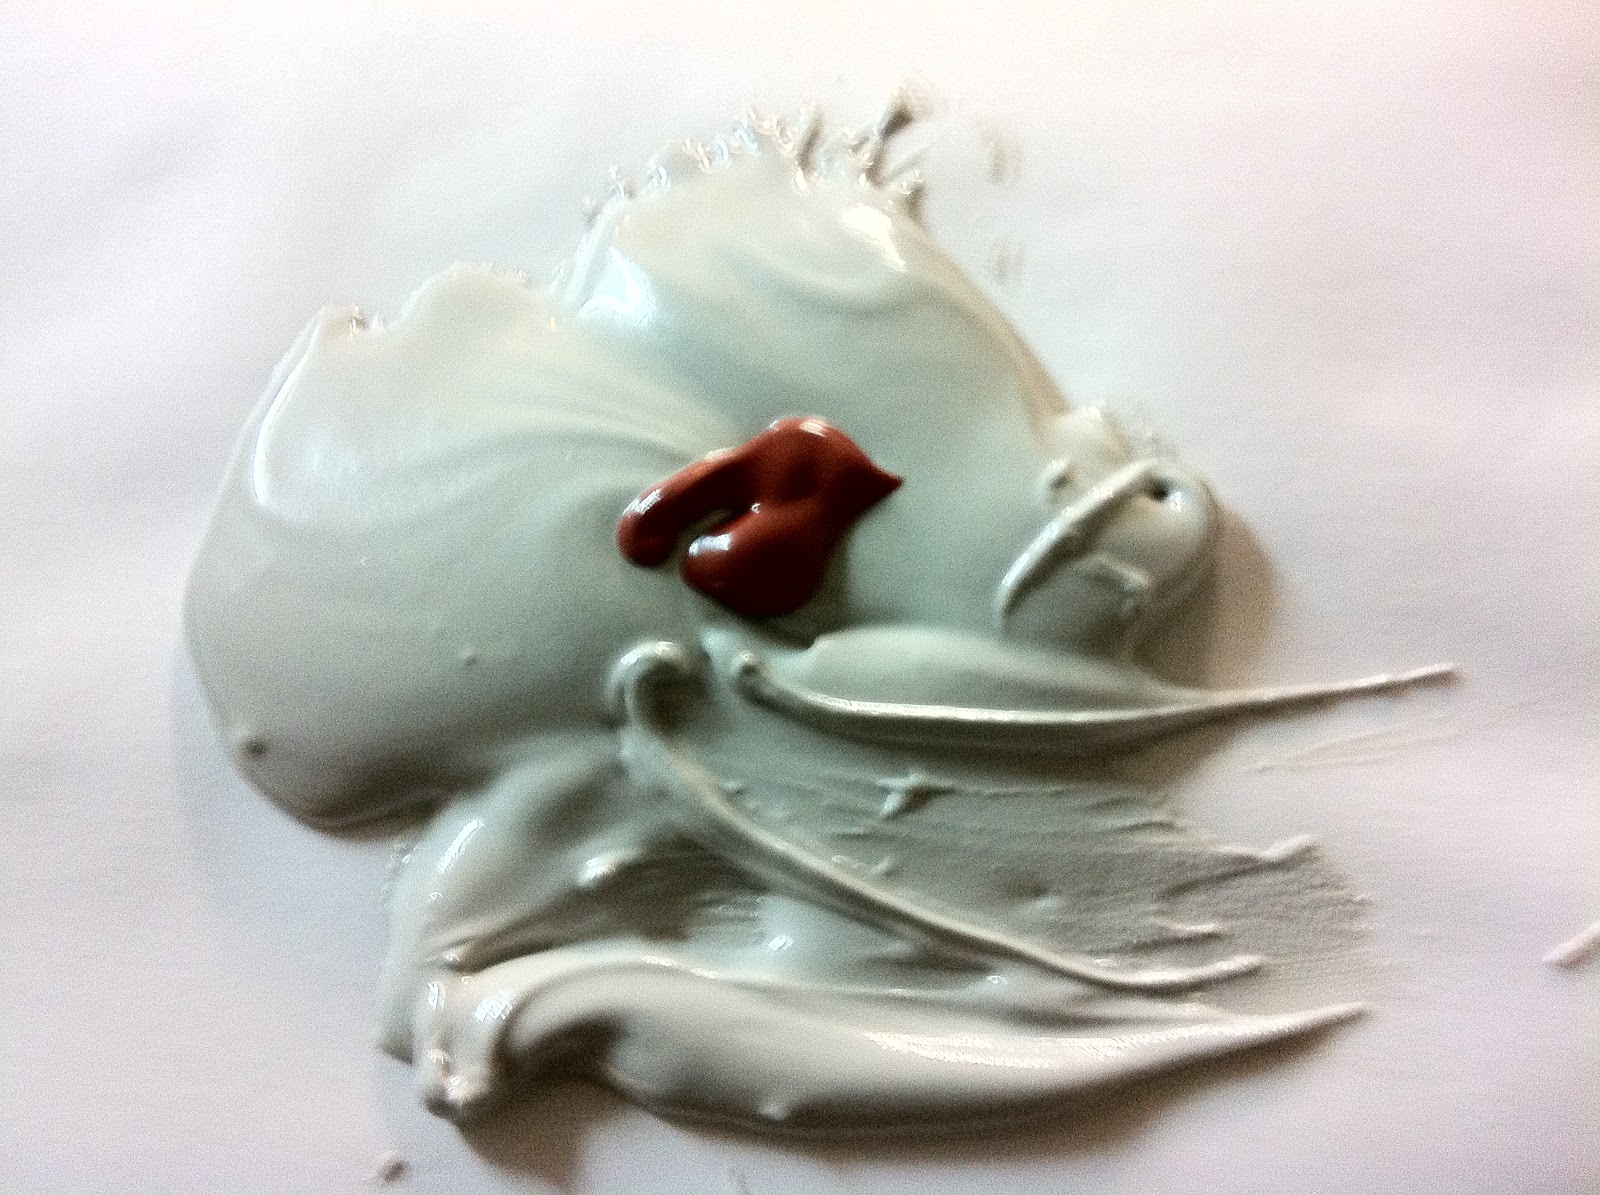
Here are a couple of pictures of my Midget's battery tray. it is pockmarked with some surface rust, but I am going to sand and skim-coat with a bit of 'dolphin' filler. It's good for thin coats, and will make this look nice. I have one rusted spot in the corner, which I cut out with my BOSCH multi-tool. My pneumatic cut-off tool wouldn't fit in the space, but this worked nicely.
I've found this tool to be super-handy in several situations, but had never considered the Midget, until presented with the close quarters of the battery tray. Control was pretty good, though it does tend to jump on you, and needs a firm hand, so as to not gouge further than you need to. I have found that light pressure allows the vibration to do its thing.
Here is the cut-out. You can see that I was trying to preserve the drain hole in the corner, but it is pretty far gone, and just makes the welding more difficult, so i'm going to nip it out of there, and just re-drill the hole in a new patch. I'm sourcing the patch(es) from a piece of the old front valance, which still has a lot of good steel in it. Alternatively, I would get it from the old gas tank. I may have to have my 21-yr-old weld this in for me though. His eyesight is better!
Documenting the life & times of one man as he attempts to resurrect a 1979 MG Midget, on a budget.
Tuesday, January 3, 2012
Sunday, December 11, 2011
Yesterday, made good progress on a number of things:
- painted POR-15 in the inner bottom of the doors. Driver's door, which is original, had quite a bit of rust, so this will stop it.
- continued sanding/filling/sanding door panels, and am pretty much done on that front. Will go back and re-check today.
- started filling/sanding dents in front valance. I put on a new valance, but when clamping it for the panel adhesive to bond, dented the front. So am filling that and am probably 75% done.
- to cover (even temporarily) all of the bodywork, I activated a can of 2K epoxy primer (spray-on). 'Pot life' is 4 days, so I'm going to try and make the most of that $19 can of primer.
- dinged some dents out of the passenger front fender (from dropping it on the concrete). They came out pretty easily, and now just need a skim coat of filler.
- painted POR-15 in the inner bottom of the doors. Driver's door, which is original, had quite a bit of rust, so this will stop it.
- continued sanding/filling/sanding door panels, and am pretty much done on that front. Will go back and re-check today.
- started filling/sanding dents in front valance. I put on a new valance, but when clamping it for the panel adhesive to bond, dented the front. So am filling that and am probably 75% done.
- to cover (even temporarily) all of the bodywork, I activated a can of 2K epoxy primer (spray-on). 'Pot life' is 4 days, so I'm going to try and make the most of that $19 can of primer.
- dinged some dents out of the passenger front fender (from dropping it on the concrete). They came out pretty easily, and now just need a skim coat of filler.
Monday, December 5, 2011
A good weekend of welding and body filler. Welded up the multiple holes in the doors from various mirror mountings. I plan to go back with stock chrome mirrors (which I already have), after the car is painted. Reckon I'll drill them then. Though, I suppose, I should drill them while still in primer, so as to not leave a bare metal edge to rust.
A quick stop by Harbor Freight on Friday night, and I had new welding gloves and a solar-powered, auto-dimming welding helmet. (see pic) I also bought some ear protection, as my air compressor is really LOUD.
Locating my cut-off tool (for grinding the welds) was problematic, but after some accusatory emails to some friends, to whom I thought I had loaned it, I remembered where it probably was, and, indeed, it was there!
Welding with non-shielded, flux-core wire is a little messier than MIG, but I got the hang of it, and the spatter comes off pretty easily with some 60 grit paper.
Doors are now skim-coated, sanded and primed. I most likely will go back over them again. I also am going to apply POR-15 to the inside bottom of the doors, as they tend to rust, and the driver's door is already showing some corrosion.
Saturday, November 26, 2011
Yesterday, my brother and I started the final bodywork, pre-paint. Mostly, he showed me 'bondo' technique, proper sanding methods, and how to prime the car body. Here are some pics...
![]() |
| driver's door pillar devoid of primer |
![]() |
| first coat |
![]() |
| with filler, after sanding |
| welded-up pinhole where dealer plate was |
| dent at trunk |
| repair of trunk dent |
| trunk after filler, before full prime |
| more trunk. green is from glazing putty |
| passenger door and pillar |
![]() |
| close-up |
![]() |
| pass door after sanding |
| here i pinged a 'proud' dent and filled |
Friday, July 1, 2011
Work has slowed - but still making progress
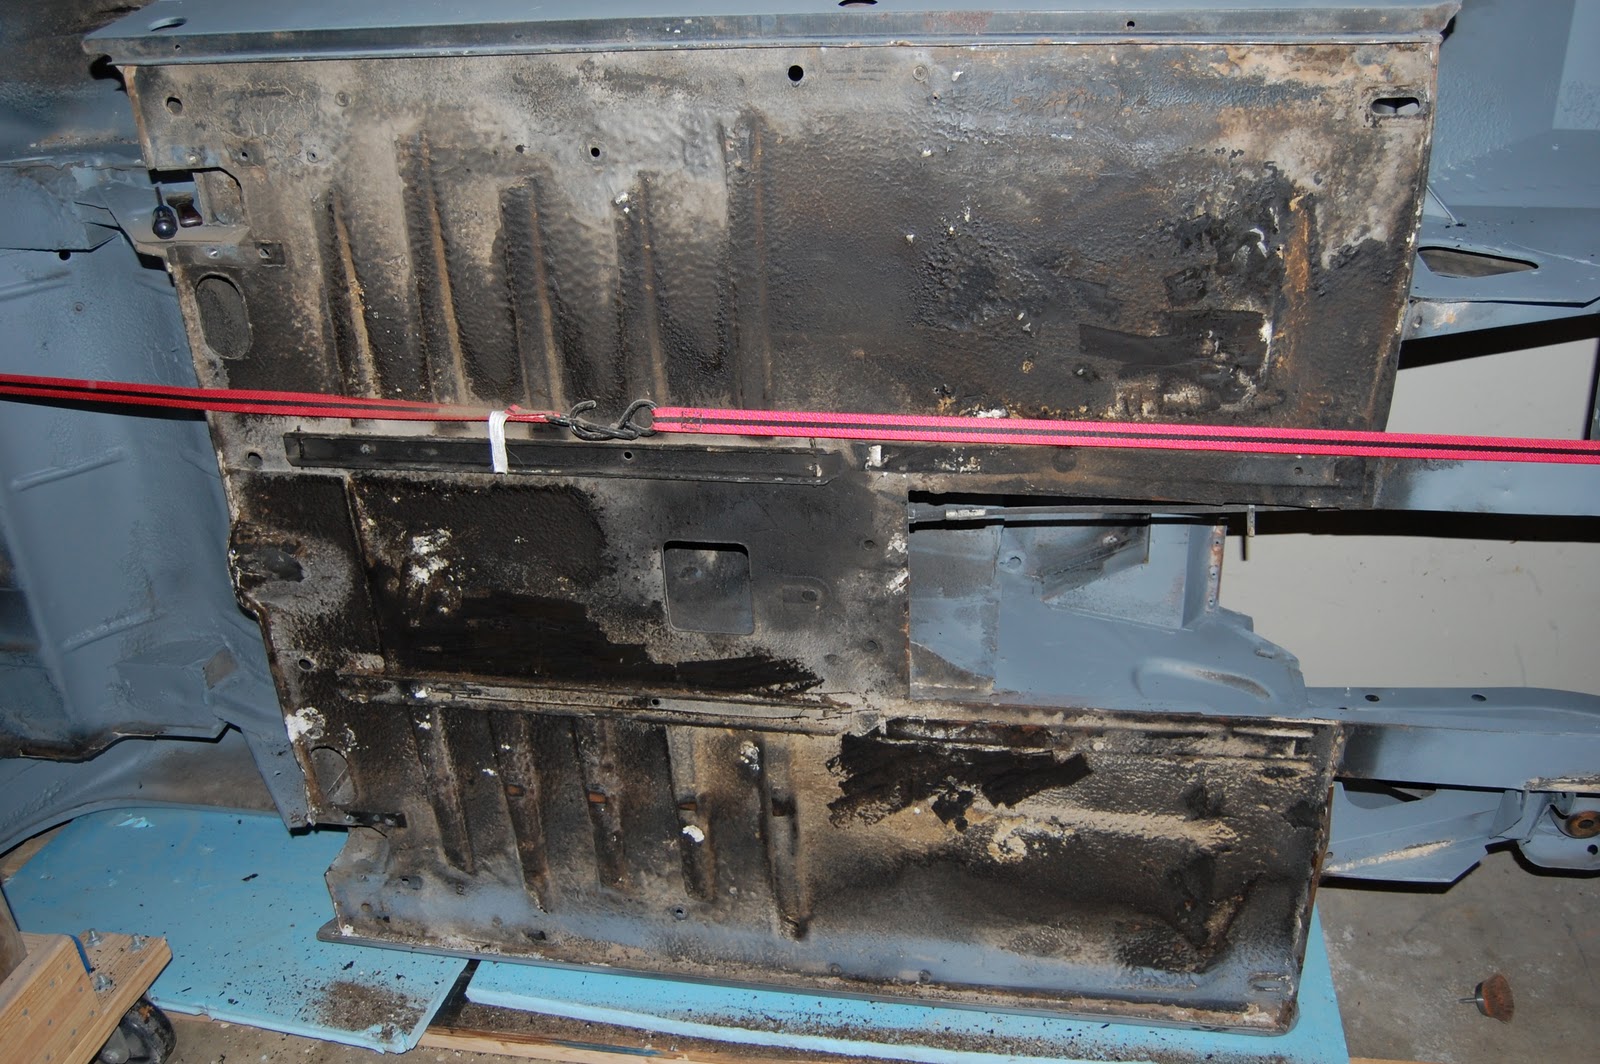
The last couple of work sessions have been dedicated to scraping the old undercoating off of the bottom of the car. With the help of some friends, this was accomplished with putty knives, scrapers, naptha, a cordless multi-tool, and hours of elbow grease. The bottom of the car is in fine shape, with only some dents to contend with. The bottom is relatively clean now.
Next step is to re-coat the bottom with new undercoating, then prep for painting....
Monday, November 29, 2010
Bodywork Progress #4 - 11/29/10
Car is safely back in the home garage. Ended up having the fender repaired by the local Brit car shop. $75 and it looks perfect.
Note the trangular patch
that was welded in.
Here are some pics of the car, on its side in my garage, strapped in so that I can clean the underside.
Thursday, November 18, 2010
Bodywork Progress #3 - 11/18/10
Update -
The Midget is now safely ensconced in my garage for the holidays. Vo-tech semester is almost over, so I brought it home to continue work. Dropped damaged fender off at McLeod's British Cars, where he will repair the poor welding I did - $75.
Once that's repaired, it's on to cleaning the underside of the car. Prime and undercoat.
Tuesday, November 9, 2010
Engine Progress - 11/09/10
I'm going back and forth between engine and components (when I'm at home nights/weekends) and bodywork (nights at the vo-tech). The past weekend, I did a little engine work. I repainted the engine (remember the rust induced by the clothes dryer?) and collected the various studs, nuts, bolts & washers necessary to attach the 'peripherals'.
I bought nuts/bolts from the local supplier. Turns out he gave me 5/16-18 nuts for 5/16-24 threaded studs. That will ruin the studs on your water pump housing. I happened to be in KC last week, so I stopped in at Victoria British and got the appropriate studs, then went to Lowe's and got an abundance of 5/16 lockwashers and 5/16-24 nuts out of the 'Grade 5' specialty bins.
I could now attach the water pump housing, the water pump, the fan clutch/fan, and the fuel pump, dizzy, and alternator.
Took me a while to find out that the alternator bracket fit on the water pump housing. As you can see, the
components are coming together. Engine looks much nicer/cleaner with a coat of semi-gloss black engine paint. I've not decided on the oil filter adaptor. I probably won't use it. But I had to understand how it went on. I also think that my fuel pump is the one that doesn't require the spacer, but right now the spacer's on there.
I cleaned the fan up nicely with some household cleaner. It was filthy when I got it. And it's original!
I bought nuts/bolts from the local supplier. Turns out he gave me 5/16-18 nuts for 5/16-24 threaded studs. That will ruin the studs on your water pump housing. I happened to be in KC last week, so I stopped in at Victoria British and got the appropriate studs, then went to Lowe's and got an abundance of 5/16 lockwashers and 5/16-24 nuts out of the 'Grade 5' specialty bins.
I could now attach the water pump housing, the water pump, the fan clutch/fan, and the fuel pump, dizzy, and alternator.
Took me a while to find out that the alternator bracket fit on the water pump housing. As you can see, the
components are coming together. Engine looks much nicer/cleaner with a coat of semi-gloss black engine paint. I've not decided on the oil filter adaptor. I probably won't use it. But I had to understand how it went on. I also think that my fuel pump is the one that doesn't require the spacer, but right now the spacer's on there.
I cleaned the fan up nicely with some household cleaner. It was filthy when I got it. And it's original!
| See the alternator bracket? |
Most recently, I decided to repaint the valve cover with silver. I had painted it orange at first, but then realized that was inaccurate. I used aircraft paint remover to take off the orange (using soaked steel wool to get in the crevices), then high heat Rustoleum primer (3-4 coats). wet sand with 600 grit, then topcoat with 5 light coats of high heat silver ("High Heat Silver, Away!" (sorry, couldn't resist...)). I may clearcoat it as well.
11/11/10 Update - This morning I read an article that said you should never primer a valve cover or other engine component. Hmmm...
Thursday, November 4, 2010
Bodywork Progress #2 - 11/04/10
Last night, made some good progress welding up some rusty pinholes. MG sheetmetal is so thin, that I was constantly 'blowing out' the hole. Instructor finally came over and corrected me. Firstly, I was welding in the 'wind' from the a/c system, which is bad, because it promotes 'porosity'. I also had the wire speed too fast and the voltage too high. Once corrected, and moved to a less windy spot behind a screen, I was able to weld much more consistently. So, I'm one night closer to getting to the 'bondo' work.
I've decided, after a failed attempt at repair, to just buy a new gas tank.
Tuesday, November 2, 2010
Bodywork Progress - 11/02/10
Last night, I addressed the crease in the passenger
door pillar. You can clearly see the crease in the photo to the right. The crease is the result of a 'learning opportunity'. When somebody is helping you load your car on a trailer, and it's your money you just spent having it soda-blasted, make sure they tie the doors shut. Especially if you load the car on the trailer facing backwards.
Initially, I wasn't sure how I was going to get the crease out. But then I saw the Stud Welder Dent Pulling System in use, and figured I could do it. The school has one, so I fired it up and tried it out. It took 2 'passes' with the stud welder, but it's surprisingly easy to use.
pulled the crease out.
Then, I clipped off the copper studs, and using a die grinder, ground off the heads, until i had a (relatively) smooth surface. Next, I welded new studs in the 'gaps' between the previous studs, and pulled some more. The dent was really coming out, now.
| Clipped studs |
Clipped off the studs, ground off the heads.
| Ground/Blow out |
You can see just how thin this MG sheet metal is. Some of the stud heads actually pulled out when I was using the slide hammer. This left a hole that I had to MIG weld up. My poor welding skills caused me to 'blow out' the sheet metal, making the hole bigger. You can see this in the pictures. I plan on correcting this week, with a more competent hand at the welder.
Wednesday, October 13, 2010
Current Midget to date
In order to 'cut to the chase', as they say, I'm going to summarize the last 5 years:
I brought the car back to Arkansas in 2005, whereupon I attempted to catalog the various loose parts. Hmmm. Shotgun shells... Unless the motor starts like the airplane Jimmy Stewart flew in 'Flight of the Phoenix', I won't be needing those...one 'complete' engine (for the most part) and one engine torn down...etc., etc. I won't go into too much detail.
I eventually disassembled the entire car. It wasn't enough to just get it running. I had to do it all. So, over the next few years, I bought a lot of parts...carpets, tires, trim rings, mirrors, rings, seals, gaskets, bearings. In 2006, I had the block 'boiled' and the head done. The machine shop polished the cam and the crank, as well. All for about $200. The only mistake I made was unwrapping the block before I was ready to re-build the engine. Well, that's not quite true. That was the second mistake. The first mistake was venting my dryer into the garage. The combination of moist dryer venting and an exposed block was, of course, RUST. When my brother announced that he was coming up for the weekend, and would help me rebuild the engine, I panicked. For another $90 of my 'MG money', I took the block back to the machine shop, and had him clean it up for me. Ah, the lessons we learn...
With my brother's help, I reassembled the engine with new rings, gaskets, seals, bearings. I painted the timing chain cover and the valve cover (which I'm now re-painting the correct silver).
Here are a couple of shots of the engine reassembly process...
I brought the car back to Arkansas in 2005, whereupon I attempted to catalog the various loose parts. Hmmm. Shotgun shells... Unless the motor starts like the airplane Jimmy Stewart flew in 'Flight of the Phoenix', I won't be needing those...one 'complete' engine (for the most part) and one engine torn down...etc., etc. I won't go into too much detail.
I eventually disassembled the entire car. It wasn't enough to just get it running. I had to do it all. So, over the next few years, I bought a lot of parts...carpets, tires, trim rings, mirrors, rings, seals, gaskets, bearings. In 2006, I had the block 'boiled' and the head done. The machine shop polished the cam and the crank, as well. All for about $200. The only mistake I made was unwrapping the block before I was ready to re-build the engine. Well, that's not quite true. That was the second mistake. The first mistake was venting my dryer into the garage. The combination of moist dryer venting and an exposed block was, of course, RUST. When my brother announced that he was coming up for the weekend, and would help me rebuild the engine, I panicked. For another $90 of my 'MG money', I took the block back to the machine shop, and had him clean it up for me. Ah, the lessons we learn...
With my brother's help, I reassembled the engine with new rings, gaskets, seals, bearings. I painted the timing chain cover and the valve cover (which I'm now re-painting the correct silver).
Here are a couple of shots of the engine reassembly process...
Sunday, October 10, 2010
Current Midget Acquisition
It's been a busy weekend. Last week, I replaced the shocks on the rear of my 2003 Honda Pilot. I ordered a set of shocks/struts from justsuspension.com. I got the KYB brand. Replacing the shocks was easy, and it only took an hour, maybe. My trusty air ratchet made it that much easier, especially when spinning off/on lug nuts.
This weekend, I tackled the front struts. This task is not particularly daunting, but it is a hassle. The struts/springs are heavy and unwieldy, they're dirty, you have to compress the coil spring, blah blah blah. My sidekick, whom, in deference to his cyber-anonymity I will refer to as 'Sidekick', was there to lend a hand, and this was most fortunate. After multiple trips to the auto parts store, to return the coil spring compressor I borrowed and to get a 'strut spring compressor', to the hardware store for sockets required that I didn't have, to Sidekick's house for Allen wrenches that I couldn't find, we successfully coupled the new struts with the old springs. In the course of this process, I dropped the new bearing that came with the strut, and had to clean/grease each of the individual ball bearings, and re-assemble the bearing. Fun. It wasn't until today (hey, I had to stop to watch the Hawgs yesterday) that we got it reassembled. One 'sproing' as we backed out (I assume this was a coil spring 'self-adjusting') and everything was good. Hope this improves the ride of my 130k-mile daily chariot...
Five years hence, here's how I remember it: the car was dusty, with 4 flat tires, a couple of engines, etc., but it was all there, pretty much. I would find out later that there were some bits missing, but I've compensated for that over time. The car was also straight. It had never been in an accident, and, because it had been in storage for 20+ years, it didn't have much rust. The floors were solid, the rockers were solid, the fenders were solid.
So, with the help of some muscle and a come-along, the car was dragged up on the trailer and tied down. We started for home, some 7-8 hours away. The trip was uneventful.
This weekend, I tackled the front struts. This task is not particularly daunting, but it is a hassle. The struts/springs are heavy and unwieldy, they're dirty, you have to compress the coil spring, blah blah blah. My sidekick, whom, in deference to his cyber-anonymity I will refer to as 'Sidekick', was there to lend a hand, and this was most fortunate. After multiple trips to the auto parts store, to return the coil spring compressor I borrowed and to get a 'strut spring compressor', to the hardware store for sockets required that I didn't have, to Sidekick's house for Allen wrenches that I couldn't find, we successfully coupled the new struts with the old springs. In the course of this process, I dropped the new bearing that came with the strut, and had to clean/grease each of the individual ball bearings, and re-assemble the bearing. Fun. It wasn't until today (hey, I had to stop to watch the Hawgs yesterday) that we got it reassembled. One 'sproing' as we backed out (I assume this was a coil spring 'self-adjusting') and everything was good. Hope this improves the ride of my 130k-mile daily chariot...
Here's a picture from the day in 2005 when I acquired the 1500 Midget. My oldest brother found the car in Cleveland, Tx. I previously found him a 1959 MGA here in central AR, and he was returning the 'favor'. See his blog here: http://www.jimsmgarestoration.blogspot.com/.
A fellow was divesting himself of his father's estate, and the Midget had been in the garage in the back for 20 years. Seems his sister was driving it and the engine blew. It was never re-built. He was GIVING IT AWAY to whomever would come get it. I borrowed a trailer and away I went (with wife in tow as well).Five years hence, here's how I remember it: the car was dusty, with 4 flat tires, a couple of engines, etc., but it was all there, pretty much. I would find out later that there were some bits missing, but I've compensated for that over time. The car was also straight. It had never been in an accident, and, because it had been in storage for 20+ years, it didn't have much rust. The floors were solid, the rockers were solid, the fenders were solid.
So, with the help of some muscle and a come-along, the car was dragged up on the trailer and tied down. We started for home, some 7-8 hours away. The trip was uneventful.
Thursday, October 7, 2010
History Pt 2
So, I had a '71 in '73 'clothing'. The DPO had pop-riveted the VIN from a 'salvage title' car (before Arkansas enacted its 'Lemon Law'). No biggie to me. I could still license the car and drive it, and now at least I knew which parts to buy.
Then I made my fatal error. I dismantled the front of the car. Took everything off. Stripped it like an 8-year-old unwrapping presents on Christmas morning. And there it sat.
For my anniversary, my loving wife bought me new floorpans and two new (to me) front fenders. And there it sat.
I went to a local u-pull-it yard on $25 day. Even paid my buddy's entry fee. You pay $25 and it's all you can carry out in one load. We flipped an MG hood, loaded on chrome bumpers, gauges, shocks, everything we could carry. Probably $1500 in used parts. All for $50. And there it sat.
I moved to another town. And there it sat, sometimes in the garage, and sometimes in the backyard. Occasionally, I would work on it, but a) I didn't know what I was doing, 2) I didn't have much money to 'invest' in the project, and c) I didn't know what I was doing.
Eventually, I sold it to an older gentleman, who originally only wanted the engine, for about $400. He got the whole kit and caboodle.
I then focused on another kind of British auto - Land Rover's Range Rover Classic - and ignored MGs for some years...
![]() |
| Notice the missing front marker lights, how the driver's headlight seems to be aimed at an upward angle, and how the rear tire is somewhat splayed out... |
Next, I replaced the brake cylinders on the rear. Huh, my leaf springs are broken and sagging. Then, driving it to work one November morning, the fan belt broke, and jammed itself behind the water pump. That repair was an all-afternoon affair that involved one person with heavy gloves on, grasping the fan belt, while the other 'bumped' the ignition. Fan belt removed/replaced.
Then I made my fatal error. I dismantled the front of the car. Took everything off. Stripped it like an 8-year-old unwrapping presents on Christmas morning. And there it sat.
For my anniversary, my loving wife bought me new floorpans and two new (to me) front fenders. And there it sat.
I went to a local u-pull-it yard on $25 day. Even paid my buddy's entry fee. You pay $25 and it's all you can carry out in one load. We flipped an MG hood, loaded on chrome bumpers, gauges, shocks, everything we could carry. Probably $1500 in used parts. All for $50. And there it sat.
I moved to another town. And there it sat, sometimes in the garage, and sometimes in the backyard. Occasionally, I would work on it, but a) I didn't know what I was doing, 2) I didn't have much money to 'invest' in the project, and c) I didn't know what I was doing.
Eventually, I sold it to an older gentleman, who originally only wanted the engine, for about $400. He got the whole kit and caboodle.
I then focused on another kind of British auto - Land Rover's Range Rover Classic - and ignored MGs for some years...
Wednesday, October 6, 2010
History - Midget # 1
I'll start at the beginning - About 1992, I bought, for $640, a 1973 MG Midget. Those in the know will recognize this as a chrome-bumpered, RWA (round wheel arch) Midget. It was white. I negotiated the seller/DPO down from about $800-$900, by showing him 'all' the cash I had in my pocket.
I didn't have a lot of money at the time, being about 29 years old, and a new father. But, I rationalized the purchase, based upon two factors: owning a British sports car, specifically an MG, was a family tradition, I was fulfilling my destiny, AND I had spent the money my paternal grandfather had left me on a house for my wife (down payment), and I ought to buy myself something before it was all gone (ignore the fact that I frittered away most of it by being unemployed for 11 months after college. Without subjecting myself to too much self-loathing and critical reflection, suffice it to say that I looked down on the people who worked at the pizza place across the street from my apartment, so while I looked for a 'career', I'd just watch TV. Imagine the employee discount on pizza/beer.) But, I digress...
One day, while perusing the 'classic cars' section of the want ads, I spied the Midget, and immediately set off with a friend in tow, to drive my truck back. I wasn't going just to look. I was going to buy!
After a couple of surreptitious passes, I pulled in. Talked to the owner, took it for a test-drive, went away to 'think about it'. In reality, I went to the ATM to get more cash. We negotiated - he gave me some song-and-dance about having to confer with his 'partner', but when he saw the cash, he pounced. And away I drove, stopping to put gas in the little car.
On the drive home, on the interstate, I noticed the carpet in the passenger footwell floating up and down. (Note: this is BAD.) Reaching over, I lifted the carpet, and there was the Eisenhower Interstate Highway System, going by at 60mph. Floorboards were rusted out!
Things only got better. I discovered that the side marker lights had been removed and the holes taped/Bondo'd. Keep in mind, this was before I knew much about the model changes, etc. This was very confusing to me. In addition, the driver's side headlight shined on my garage wall much higher than the passenger side. That was because the front bumper support on that side had been bent, and moved about an inch or so above parallel.
The kicker came when I went to the local British car expert and argued that my car was a '73. I didn't know that a '73 had round rear wheel arches and a '71 had square wheel arches. Mine were square. (I THOUGHT that VIN # plate looked loose...)
I didn't have a lot of money at the time, being about 29 years old, and a new father. But, I rationalized the purchase, based upon two factors: owning a British sports car, specifically an MG, was a family tradition, I was fulfilling my destiny, AND I had spent the money my paternal grandfather had left me on a house for my wife (down payment), and I ought to buy myself something before it was all gone (ignore the fact that I frittered away most of it by being unemployed for 11 months after college. Without subjecting myself to too much self-loathing and critical reflection, suffice it to say that I looked down on the people who worked at the pizza place across the street from my apartment, so while I looked for a 'career', I'd just watch TV. Imagine the employee discount on pizza/beer.) But, I digress...
One day, while perusing the 'classic cars' section of the want ads, I spied the Midget, and immediately set off with a friend in tow, to drive my truck back. I wasn't going just to look. I was going to buy!
After a couple of surreptitious passes, I pulled in. Talked to the owner, took it for a test-drive, went away to 'think about it'. In reality, I went to the ATM to get more cash. We negotiated - he gave me some song-and-dance about having to confer with his 'partner', but when he saw the cash, he pounced. And away I drove, stopping to put gas in the little car.
On the drive home, on the interstate, I noticed the carpet in the passenger footwell floating up and down. (Note: this is BAD.) Reaching over, I lifted the carpet, and there was the Eisenhower Interstate Highway System, going by at 60mph. Floorboards were rusted out!
Things only got better. I discovered that the side marker lights had been removed and the holes taped/Bondo'd. Keep in mind, this was before I knew much about the model changes, etc. This was very confusing to me. In addition, the driver's side headlight shined on my garage wall much higher than the passenger side. That was because the front bumper support on that side had been bent, and moved about an inch or so above parallel.
The kicker came when I went to the local British car expert and argued that my car was a '73. I didn't know that a '73 had round rear wheel arches and a '71 had square wheel arches. Mine were square. (I THOUGHT that VIN # plate looked loose...)
Friday, October 1, 2010
Introduction
This blog is intended to document the trials and tribulations of my restoration of a 1979 MG Midget 1500. In subsequent entries, I'll detail how I acquired the car, work that has been done to this point (with pictures, where available), and other information. In addition, I'll hold forth on other MG-related info (family car history, other MG adventures), and possibly regale my audience with non-MG automotive stories.
Stay tuned...
Stay tuned...
Subscribe to:
Posts (Atom)


+of+12640_198875664812_704909812_4035726_2592423_n%5B1%5D.jpg)